Products

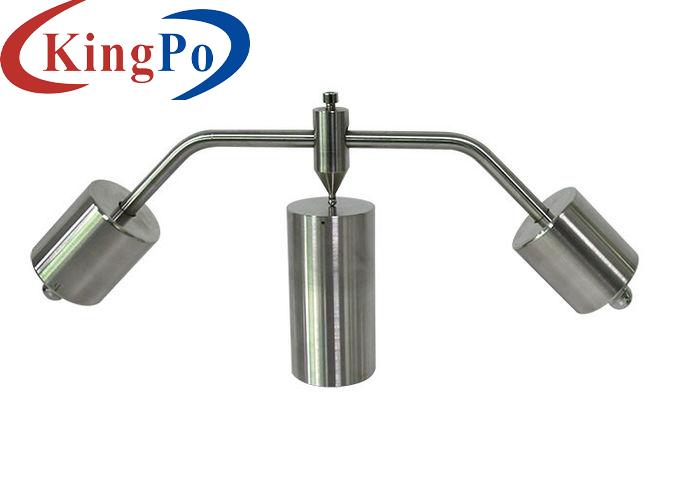
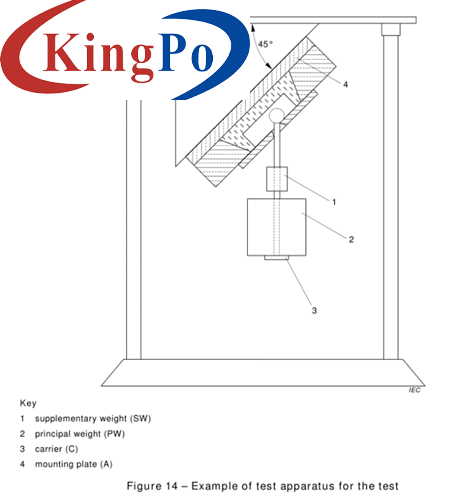
Body Plug Pin Fixation Verifying Test Apparatus Figure 30 IEC60884 Clause 24.10
Products Description
IEC 60884-1 Fig. 30 Apparatus to Verify the Fixation of Pins in the Body of the Plug
Product information:
The plug pin fixation verifying test apparatus meets the requirements of IEC 60884-1 2013 clause 24.10 and figure 30.
Technical parameters:
For flat pins, hole size equal to pin size plus 4±0.44mm;
For round pins, hole size equal to pin diameter plus 6±0.5mm. (Customizable)
Test procedures:
2. The plug is positioned on the steel plate in such a way that the centers of the circles circumscribing the pins coincide with the centers of the holes. Then insert the test plug into the socket in the direction of the longitudinal axis of the pin. After that, the plug is placed in the heating cabinet with temperature (70 ± 2) °C, 1 h after, a pull force is applied inside a heating cabinet
3. Choose the clamping fixture according to the shape of the plug, and make it is firmly connected with the plug (ensure it will not loose when exert a pull force)
4. Choose the pull force weight according to the maximum withdrawal force as given in table 16 (can be achieved by the superposition), the weight is hooked in the ring of the clamp, handle with care, and don’t produce explosive tension.
5. The force is applied on each plug pin for 1 min, after the test, the plug is allowed to cool down to ambient temperature and it shall be verified that the displacement of any plug pin in the plug body should not excess 1 mm.
Station
1 station
Weights
4N, 20N, 30N for ordinary hole, one in each; 50N, 20N with hook, one in each
Gauges
provide 6A plug gauge, 10A plug gauge, 16 plug gauge, one each (according to different plug standard requirements)
Hole size
Clamp unit
Plug pin clamp unit, 1 set
Conforms to standard
IEC 60884-1 2013 clause 24.10 and figure 30


