Products
IEC 60598-2-17 Stage Lighting Hanger Weight Bearing Test Machine
Products Description
IEC 60598-2-17 Stage Lighting Hanger Weight Bearing Test Machine
Product information:
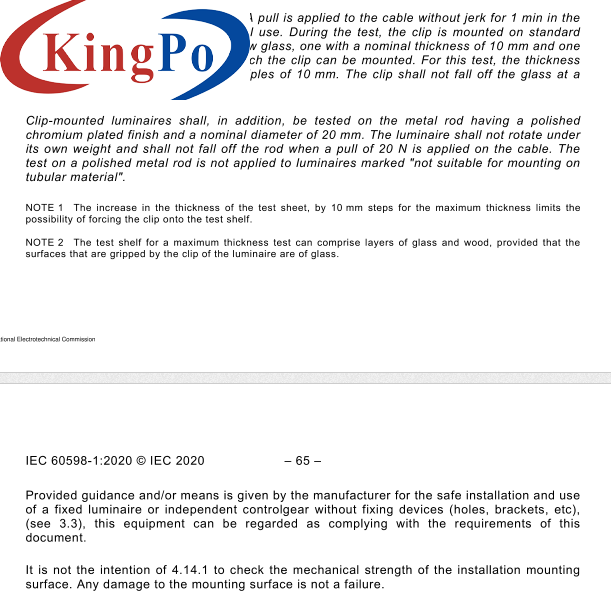
This device conform to IEC 60598-2-17 clause 17.7.4. and IEC60598-2-23 Clause 7.4 and 7.5.
Technical parameters:
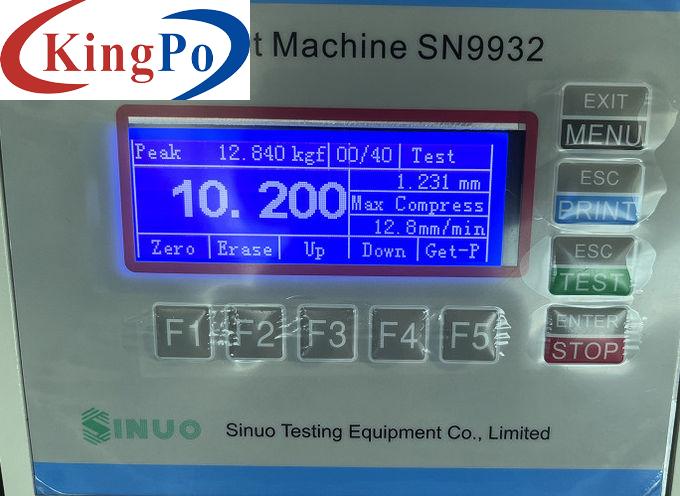
Buttons F1~F5 correspond to the functions of the five buttons in the interface respectively.
1 Zero: In the main interface, press the corresponding F1 button to reset the force to zero.
2 Erase: In the main interface, press the corresponding F2 button when the test is stopped to erase the last test result.
3 Up: In the main interface, when the test is stopped, press the corresponding F3 button for a slow rise, and press it again for a fast rise
4 Down: In the main interface, when the test is stopped, press the corresponding F4 button for a slow downward, and press it again for a fast downward.
5 Get-P: In the main interface, press the corresponding F5 button when the test starts:
6 The method to enter the next interface:
First, use F1~F5 to directly enter the next interface.
Second, select the sub-interface in the interface with the selection box, and press ENTER.
Third, press EXIT to exit the sub-interface and return to the previous interface.
7 Press the TEST button in the interface to which the calibration belongs to play a rising role.
Basic operation before use:
1 Please set the test parameters before starting the test, otherwise the system will use the last parameters by default.
2 Please check and save the parameters after setting (it will be automatically saved in some interfaces), and the system will automatically use the saved parameters when the system is turned on next time;
3 Gain 1 is related to the sensitivity of the sensor, and can be matched with the hardware dial switch;
4 The position of the red dial switch has changed, and the hardware zero position should be re-calibrated.
Capacity
0~1T
Accuracy level
Level 1
Control method
It is controlled by microcomputer
Display method
Electronic LCD display
Power unit
kgf, gf, N, kN, lbf
Stress unit
MPa, kPa, kgf/cm2, lbf/in2
Displacement unit
mm, cm, in
Display resolution
0. 1N
Lifting stroke
600mm
Platen size
600*600mm
Software function
Chinese and english are interchangeable
Shutdown mode
Overload shutdown, emergency stop button, automatic shutdown of test piece destruction, automatic shutdown of upper and lower limit settings
Safety equipment
Overload protection, limit element protection device
Machine power
AC variable frequency motor drive controller
Computer system
High precision ball screw
Power supply
AC220V/50Hz
Machine weight
Around 250KG
Performance characteristics
The percentage break value can be set, the machine will stop automatically, and 4 different speeds can be selected when enter the menu. 20 results are available, the average of all test results and single results can be viewed.


