Products

ISO 4532 1991 Enamel Impactor For Impact Resistance Test On Enamelware
Products Description
ISO 4532: 1991 Enamel Impactor For Impact Resistance Test On Enamelware
Product Overview For Enamel Impactor:
Comply with ISO4532:1991 standard
Structure For Enamel Impactor:
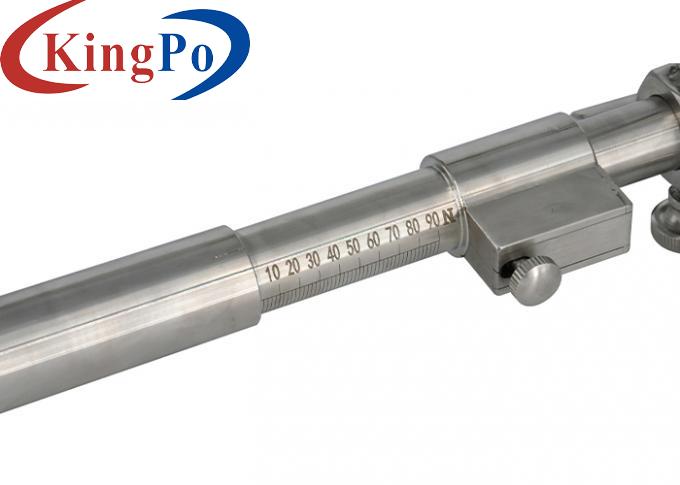
This device is entirely a mechanical instrument, with a force range of 0-90 N/cm continuously adjustable, and the minimum adjustable precision is 0.5 N/cm. With the specially designed tripod stand, it can not only test on the uneven sample surface, but also test the edge part of the sample.
Technical parameters For Enamel Impactor:
Notice For Enamel Impactor:
1. The distance between two impact points, or the distance between one impact point and one enamel layer damage point should not be less than 20mm.
For enamel and enamel - Determination of the impact resistance of enamelware. This device is a portable handheld instrument that can be stored in any suitcase, avoiding many troubles such as disassembly and transportation, and can be tested in workshops and factories outside the laboratory. It is most suitable for factory production management testing.
Strength range
0~90 N/cm continuously adjustable
Minimum scale
2 N
Impact steel ball
Diameter Φ5mm
Configuration bracket
Tripod bracket
Standard
ISO4532:1991
2. The location of the enamelware used for the impact gun test and the support of the enamelware shall be agreed upon for each test.
3. At least five impact gun tests should be performed.
4. After each impact gun test, observe the impact point with the naked eye at a distance of 250mm and check the type of damage.
5. The most obvious visible signs of enamel breakage at the point of impact should be used as a measure of the impact susceptibility of enamelware, such as cracking, crushing, peeling, and chipping.
6. After the impact gun test, the sample can be wiped with alcohol-containing dye, ink or similar colorant to make the damage more clearly visible.


