Products
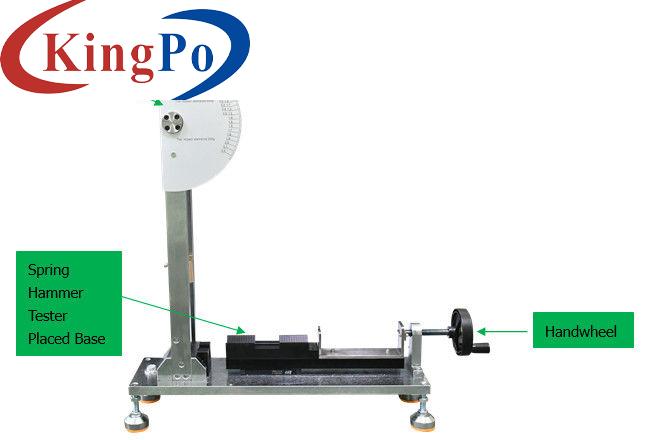
Spring Hammer Calibration Device For Detect The Impact Energy IEC60068-2-75
Products Description
Spring Hammer Calibration Device For Detect The Impact Energy IEC60068-2-75
Product Information:
The Calibration Device for Spring Hammer Test Apparatus is designed and manufactured according to the standard requirements of IEC60068-2-75:1997 Annex B, IEC60068-2-63:1997 Annex A, and etc.
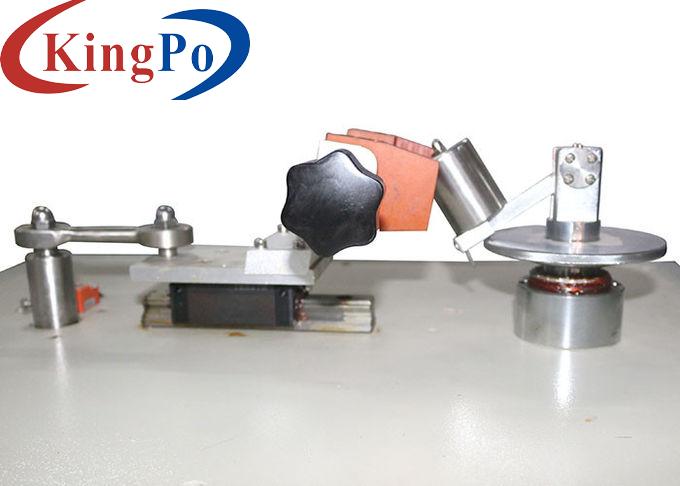
The device is used to detect the impact energy of the Spiring Hammer Tester.
When the spring hammer is released, it impacts on the pendulum rod on the calibration device, and the pendulum rod drives the pointer to the highest position of the pendulum rod, which is the energy of the spring impactor. Check the position indicated by the pointer to record the impact energy value.
A spring hammer calibration device is a specialized tool used to calibrate and verify the accuracy of spring-operated impact hammers. These hammers are commonly used in various industries, such as electronics, automotive, and consumer goods, to assess the mechanical strength and impact resistance of products and components. The calibration device ensures that the impact hammers deliver consistent and reliable results. Here are the key features and components typically found in a spring hammer calibration device:
Adjustable Mounting System: The calibration device includes an adjustable mounting system to securely hold the spring-operated impact hammer during calibration. The mounting system ensures proper alignment and positioning of the hammer for accurate impact force measurement.
Calibration Procedure Guide: The device may provide a calibration procedure guide that outlines the step-by-step instructions for calibrating the spring hammer. It specifies the parameters, such as the force range and number of impacts, to be used during the calibration process.
Safety Features: Safety considerations are crucial in the design of the calibration device to protect operators and prevent accidents. This may include safety enclosures, protective shields, and safety protocols to ensure safe handling of the spring hammer during calibration.
The spring hammer calibration device is an important tool for maintaining the accuracy and reliability of spring-operated impact hammers. Regular calibration ensures that the hammers deliver consistent and repeatable impact forces, allowing for accurate assessment of product durability and impact resistance. By using a calibrated device, manufacturers and quality control departments can trust the results obtained from impact testing and make informed decisions regarding product design, materials, and performance.
Technical Parameters:
Operation steps:
Minimum Scale
0.01J
Repeat Accuracy
±0.01J
Range
0-2J, Maximum measurable 2J
Outer Dimeter of Guide Groove
51mm
Pendulum Energy Loss
<0.002j
Trigger Stroke
>30mm
Weight
Copper weight set 1piece(2J)


